| | ||
| Distance: How far? | Time: About how long? | Difficulty: How hard? |
You read a post, and you found a hike you want to try. Great! Now what?
Maybe you see that there’s a lot of info on the post page, and you aren’t sure how to use it all. Or maybe there’s not enough info, but you assume you’ll just figure it out when you get there. Either way, here are the steps you need to take to prepare:
Step one: Before you go anywhere, read the post in detail. Make sure to familiarize yourself with what you’re getting into – whether the hike is circular or not, what season it’s good for, and whether you’ll be climbing over rocks or through mud. That way you can prepare properly.
Step two: Check the table at the top of the post. Here you’ll find the distance, approximate time, and difficulty of the hike. Hikes labeled easy are good for almost anyone. Beyond that, the difficulty level is subjective – what’s moderate for one might be super hard for someone who’s less physically fit.
Step three: Click on the Google Maps and Waze links (both in the table) from your phone so you can see where the hike is and approximately how long it will take to get there. You can also use the Google Maps link from your computer and print out driving directions that way. And if you’re relying on public transportation, use the Moovit link to find your way.
Step four: The next link to click is the “Hike it With Google Earth” link. This link is an amazing resource to anyone who knows how to use it properly!
To use it, download the Google Earth app onto your phone. Then click on the link in the table at the top of any post. Open up the downloaded file with Google Earth.
You’ll now see a map of the trail in Google Earth. Click on the three dots on the side of the screen to find your location on earth. Later, when you are on the hike, follow your location along the trail to make sure you stay on track. Using this app makes it really hard to get lost!
Step five: In some of my newer posts (and hopefully all future posts), I’ve provided a trail map. You can find this either in the Hiker’s Notes or in the table up top. Print this out to help you stay on the right path while hiking. Review the map before you go.
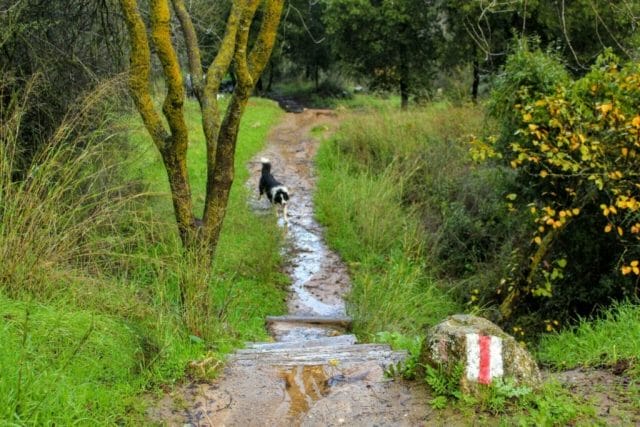
Step six: Use the image gallery at the bottom of the post to follow your path visually through the trail. In my newer posts, I’ve included instructions with each picture. Click to open up the images and see the directions that go with them. Update: In new posts you can access the image gallery from the table at the top. Open up the Trailhead and Markers Gallery for visual cues to find your way.
Step seven: Read through the Hikers’ Notes for any other important information you might need before you go. In some hikes, always keeping an eye on the next trail marker is super important. In others, you’ll need to stop for a map at the start of the trail. The hike notes will give you some of those details.
Remember, if you feel you are missing any important info, find it before you go. The information I’ve provided in each post is in no way comprehensive. Just doing my best to showcase some great hikes in Israel and provide a bit of instruction.
Part of hiking is making the trail yours! It’s learning how to find your way, bringing what you need to enhance your experience, and discovering new things along the trail (even if it’s while you’re wandering off of it). As long as you stay in a safe place and know how to get back to the marked path, trial and error is part of the experience. Happy hiking!


Interested to know if you take your dog on all your hikes? I’m trying to find trails with water that are dog-friendly. There is some information online of trails that are marked dog-friendly but there doesn’t seem to be a lot. In true Israeli style, I’d happily go to ones that don’t necessarily state it, however, I’ve heard of people showing up to some trails & their dog wasn’t allowed at all.
Thanks for your question.
We take our dog on many of our hikes. I have started making an effort to mark in the hike notes on the bottom of each post whether the trail is dog friendly or not (taking into account both the terrain and the rules). But on a lot of my older posts, I did not include this information.
If you are headed to a National Park, you can check whether dogs are allowed on their website. Each National Park page has a list of rules that specifies whether dogs are allowed.
As for other trails, we do our best to read through reviews or official pages to see if there is anything mentioned about dogs. So far, it’s always worked out for us.
If you have a specific question about taking dogs on any specific hike, I’ll be happy to answer if I can. 🙂
Good luck!
Susannah
Hi Susannah, I wanted to comment on the Carmel Mountains 9 February post but the comment section seems to be missing. We went last week and being *experienced* hikers, we were a bit cavalier and didn’t follow your notes too well. We started down the blue trail in the parking lot and after a point, realized we were not on your hike. We turned onto a green trail after a small cow farm and found a pool that was really crowded with people (!). Eventually we passed the Carmel Fire Memorial as well and finished up with a steep climb back to the parking lot, also a blue trail but not the same one we started down. We do want to do the hike properly; do you recall if that steep climb up the blue trail, including some switchbacks, is the way you guys wrapped up the hike? Thanks. BTW, we still thought it was a great hike; we were with a dog and a 6 year old and were out for 4.5 hours.
Hi Andrea!
I’ve fixed the comments section on the hike. Thanks for letting me know.
The Carmel hike was a tricky one as far as navigation goes! The most important part was at the very beginning, where we walked down the highway for a minute and crossed over to follow the blue trail.
Looking at the trail map, I can’t figure out what you guys hiked instead. It sounds a little bit like you did the hike backwards, but the blue trail at the end doesn’t sound familiar at all. (Our blue trail at the end was relatively steep, but not too bad – then again, we didn’t have any kids with us).
Maybe try looking at the trail map and the trail marker gallery in the table at the top of the page and see if you can figure out where you went wrong? Also, there is a Google Earth file in the table at the top. If you download the app, you can literally follow your location along the trail WE took to make sure you are going the right way.
Thanks for your comments. It’s nice to hear that you had a good time, even though it didn’t go exactly as planned. 🙂
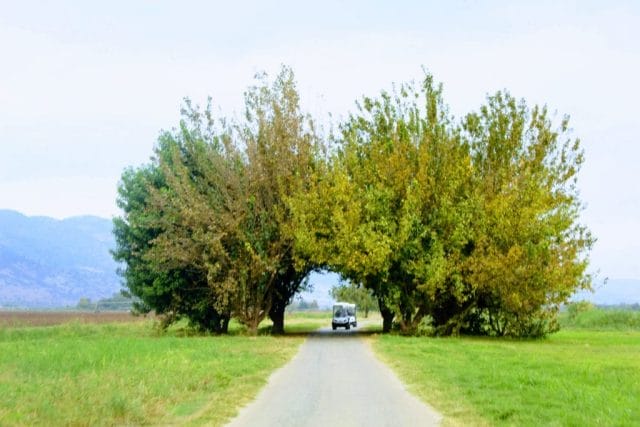
thank you for all this amazing inspiration. where is the hike in the picture of the trees forming an arch please?