Welcome back to our Hiking Basics series! In the first parts of the series, I covered topics such as the climate, geographical regions, and how to pack your backpack. In Part Six of the series, I’m going to explain Israel’s trail markers and how to find your way on the trail.
Have you ever hiked in a foreign country? If so, you know that each place has its own unique methodology for marking trails. What might be standard trail signage in the United States is quite different than the standard in the United Kingdom. And Israel’s trail markers are different too.
Israel has its own unique system for marking trails. And since Israel is a country with a rich hiking culture, this trail marking system is vast and generally well-maintained. That said, there are different types of trail markers you may see in different places. This article will delve into all the nitty gritty on trail markers in Israel and what they mean. Let’s get to it:
Painted Trail Markers
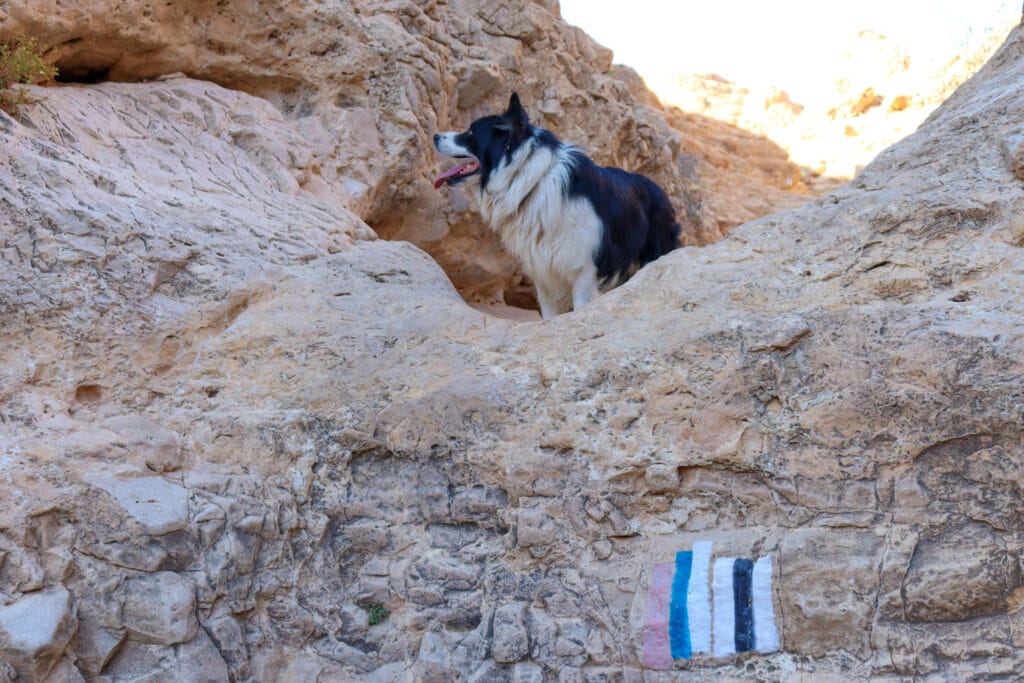
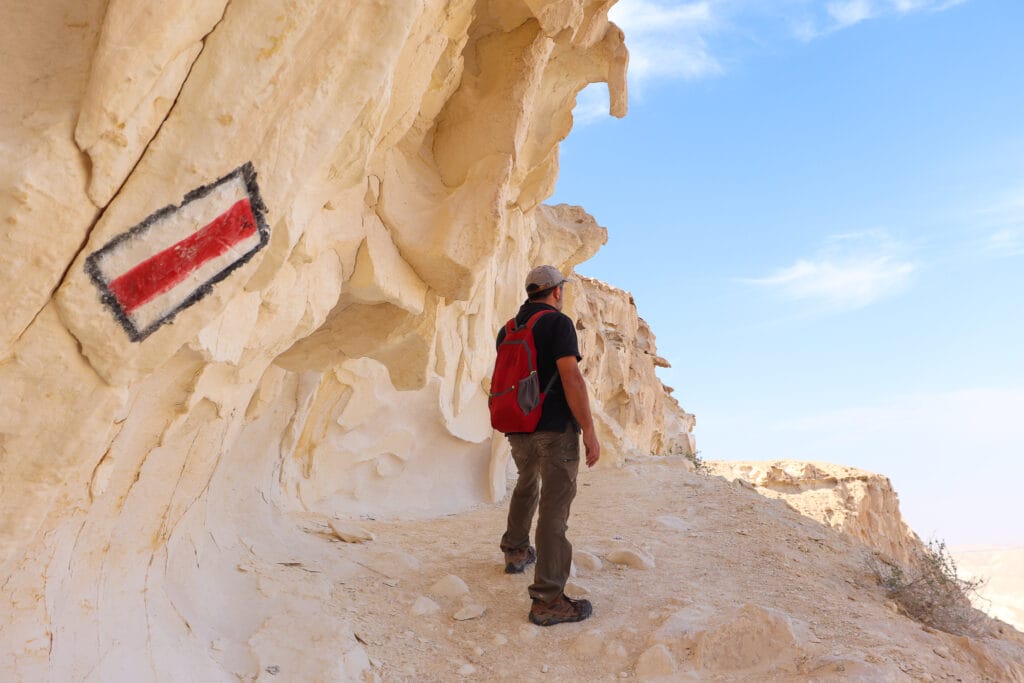
The most common type of trail markers you’ll see in Israel are painted trail markers. These markers are painted on stones, trees, signposts, and the like.
Usually, the colors you’ll see on these painted trail markers are red, green, blue, and black. These colors do not mean anything specific. A red trail is no easier or more difficult than a green trail. Every color can be found on both strenuous and easy hikes. The different colors are simply a way to differentiate a specific trail from the trails in the surrounding area.
That said, there are some colors that do mean something. For example, the color sequence of white, orange, and blue means that you are on the Israel Trail. Green, blue, and white means that you are on the Golan Trail. And in the Galilee, purple means that you are on Yam el Yam.
If you find yourself on one of these major trails, you will usually also see regular colored trail markers. That’s because most of these big trails travel along already existing trails. So don’t be surprised if you’re walking along a black trail and start to see Israel Trail markers as well.
One more thing: the colored trail markers are always framed in white paint. Sometimes, you’ll see a frame of white paint with an empty middle (no color). This means that you’ve hit a breakaway trail. These short trails will take you on a detour to some special feature (a cave or a lookout, for example). When you stumble across one of these markers, follow the breakaway trail to reach the special feature, then turn back the way you came.

Keeping Up with the Trail Markers
In Israel, these painted trail markers are maintained by a subset of SPNI, the Society for the Protection of Nature. Their goal is to make sure that hikers can always find the next trail marker, so that paths are easy to follow without getting lost.
You may occasionally find that some trails have missing or run down markers. But in general, every trail gets walked and check once every three years. So, they’re usually pretty well maintained and reliable.
KKL Trail Signs
In our country, painted trail markers are the most reliable way to follow the trail. But sometimes, you may find yourself in a KKL park or forest with a different type of trail signage. In KKL parks, wooden posts are used to mark the various trails.
To make things just a bit more confusing, there are some marked KKL trails which don’t appear as marked trails on any Israel hiking map. These trails have been created and maintained by KKL. You can see them mapped out on KKL maps (usually available on their Hebrew site and posted on a big sign at the beginning of the trail).
Sometimes, the wooden KKL trail marker posts are well maintained and helpful. But oftentimes, KKL trail markers are unreliable. On some older trails, they start and stop, go missing in the middle of a hike, or don’t correspond to the painted trail markers on the path they follow.

If you’re using a Hiking the Holyland post to hike in a KKL forest, use our trail marker galleries, trail maps and Google Earth files (recommended!) to help you along.

Parks Authority Signs
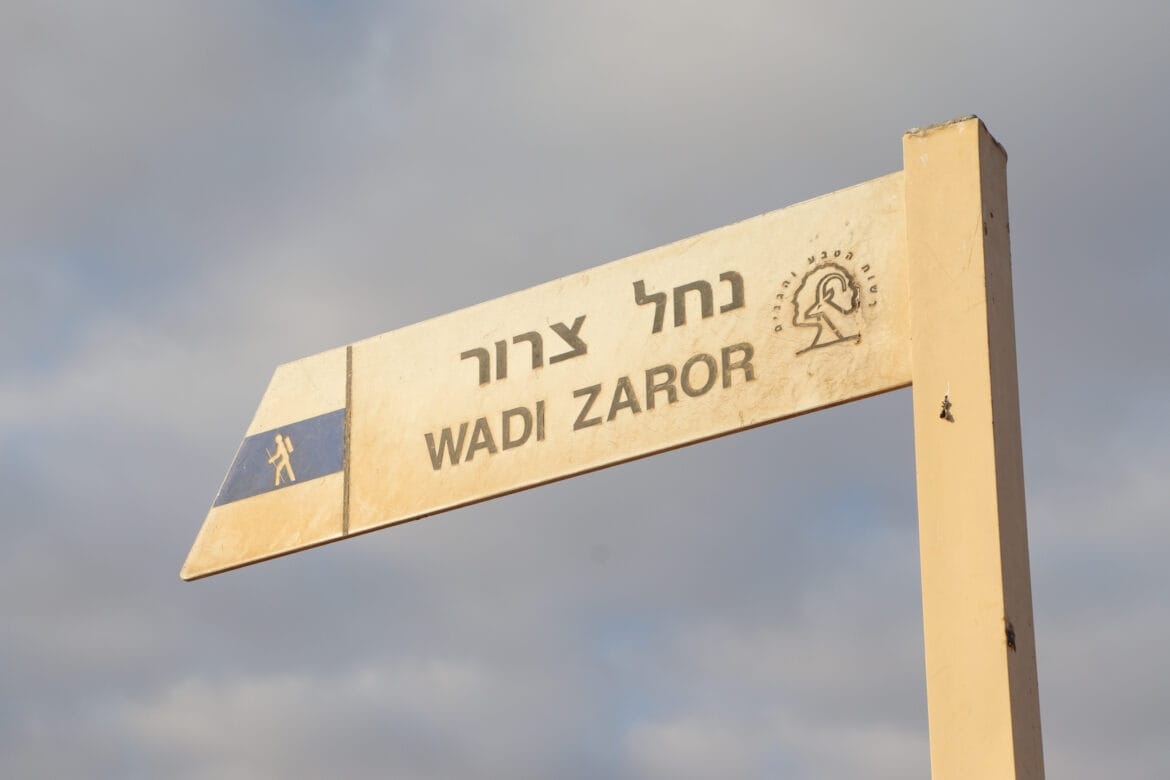
If you’re on a hike maintained by the Israel Nature and Parks Authority, you may see metal, printed signposts. As opposed to KKL, the Parks Authority’s trail markers are incredibly dependable. Aside from the color of the trail, they also contain useful information in English and Hebrew about which trail you are on.
These Parks Authority sign posts are complementary to the regular SPNI painted trail markers. They seamlessly correspond to one another. You can use these with confidence to help you find the right path on marked trails.
Unmarked Trails and Cycling Trails
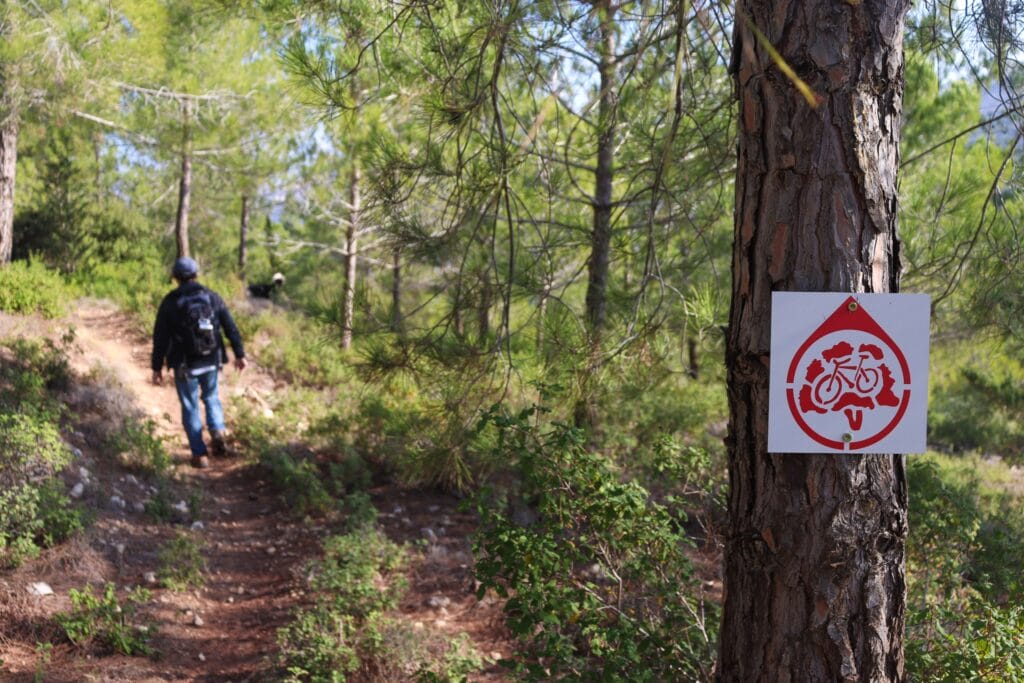
Aside from the marked trails in Israel, there are thousands of unmarked and cycling trails. If you look at an online map like Amud Anan or Israel Hiking Map (OSM), these types of trails will usually appear as a faint black line.
First time Israel hikers should probably steer clear of trails like these. But as you become more familiar with the terrain, using these trails is an excellent way to expand your hiking options. Unmarked trails allow you to shorten hikes, make them circular, or reach specific spots.
The only way to really use these trails with confidence is to follow your path using a GPS map. On Hiking the Holyland, we provide Google Earth files for each hike post (in the table at the top of the post). Download the Google Earth app, and you can match your current location as you hike to the correct path along unmarked trails.
How to Use Trail Markers
It may seem obvious, but it bears mentioning that there is a correct way to use trail markers. When you are hiking along a marked trail, pay attention to the trail signs. Don’t allow yourself to get distracted while you continue walking along what you believe to be the correct path. Confirm that you see the correct trail markers at regular intervals.
If you’re hiking in the open desert, you should never get out of sight of the next painted trail marker. If you do find yourself off-trail, go back to the last place you saw a trail marker and look for the next one in sight.
What’s with Those Trail Numbers on Hiking Maps?
If you’ve ever looked at an official Israeli hiking map, you may have noticed that each trail has a corresponding number. But walk down a trail in Israel and you’ll never see these numbers posted.
That’s because these numbers aren’t intended to help you find your way on the trail. Rather, experienced hikers use these numbers for purposes of trail identification.
When might you have a practical use for these trail numbers? If you are planning on hiking in a “Firing Zone” (shetach aish), you will need to call the army in advance for approval. Use the numbers on the trail map to let the army rep know which trail you need permission to hike.
Summing it All Up
Learning about the different types of trail markers in Israel will help you hike with confidence no matter which part of the country you find yourself in. Remember, stay in sight of painted trail markers and use the extra navigation features on Hiking the Holyland if you run into trouble!
I hope you enjoyed Part Six of our Hiking Basics series. Stay tuned for more great hiking basics articles here at Hiking the Holyland.


