| Trail Map | Terrain View | |
| Distance: 4.9km | Time: 2-3 hours | Difficulty: Moderate |
| Ascent: 282m |
Click here to go straight to hike notes.
There’s simply nothing quite like the Eilat Mountain National Park. At the southern tip of Israel, the Eilat mountains are filled with cool geological formations, dazzling colors, and challenging peaks.
The Eilat mountains are not only beautiful, but also, easy to explore. A large network of well-marked hiking trails runs between these desert mountains, linking one impressive sight to the next. Not only that, but there are no-frills campsites in between, making a camping/backpacking trip in the Eilat Mountains National Park a good option for nature lovers who want to get away from it all.
I’ve hiked through the Eilat Mountains on lengthy trails several times in the past. And on one of those trips, I scoped out a particular loop trail that I wanted to return to with the kids. The 5 kilometer loop trail to Amram’s Pillars started at a little campsite that seemed perfect for a family camping trip. My hope was that one day, we would sleep out in the desert near Eilat and hike a loop to Amram’s Pillars in the morning.
I still haven’t managed to fulfill that plan. But, this past week we were able to plan an impromptu hiking trip to Eilat with my soldier son and his siblings. And although we stayed in a hotel in the city of Eilat (not in the desert!), we did manage to finally hit that loop trail at Amram’s Pillars.
The trail was everything I had hoped it would be – truly spectacular at every turn, manageable for a family, and just challenging enough to make it fun. The kids were impressed by the red and black rock, copper rocks they collected on the trail, and main event – Amram’s Pillars, smooth, oversized, and carved out by rainwater. Maybe next time, we’ll get to try the campsite too!
Here’s how we hiked this 5 kilometer loop trail to Amram’s Pillars in the Eilat Mountains:
Magical
We drove towards the trailhead on the highway from Eilat, then turned onto a long dirt road, the same one we had driven down the day before when we hiked at the Black Canyon. This time around, we followed the signs towards Amram’s Pillars when we reached the fork in the road.
Eventually, we reached a campsite and our parking spot. We gathered up our backpacks and hit the trail.
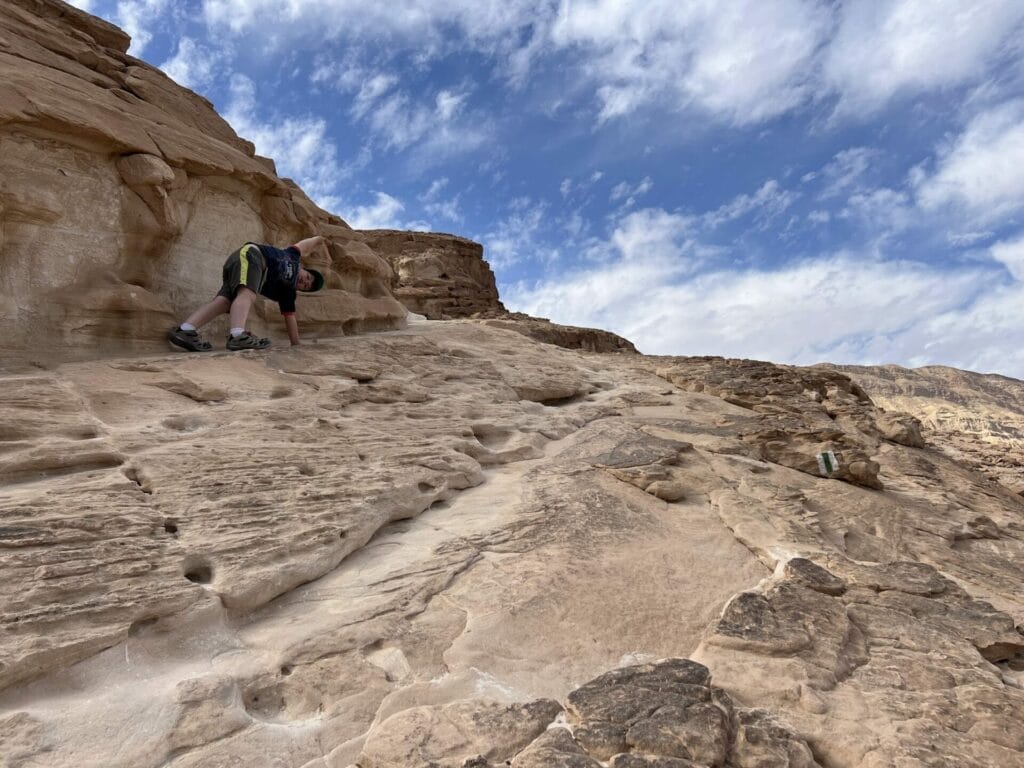
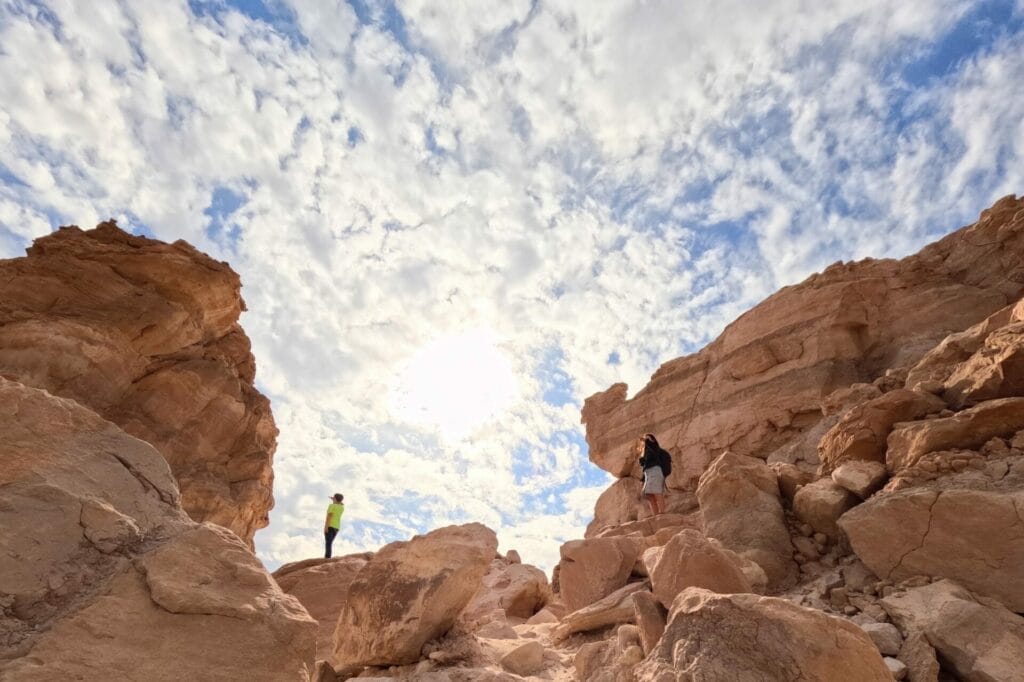
It seemed as if this trail was almost immediately spectacular. Perhaps it was the magical sky, bright blue and full of puffy clouds that looked like spattered paint. Or maybe it was the smooth rock that we climbed over, washed to a soft texture by rain water that had run through the desert.
Copper, Colorful Rock, and Guitar Tunes
Our first two hikes of this trip to Eilat had been about the same length as this one, but with much less ascending and descending. The beginning of this trail stayed relatively flat, as we snaked through a low stream bed, captivated by the incredible views of colorful rock all around. But soon, we found ourselves slowly ascending through Mars-like terrain.
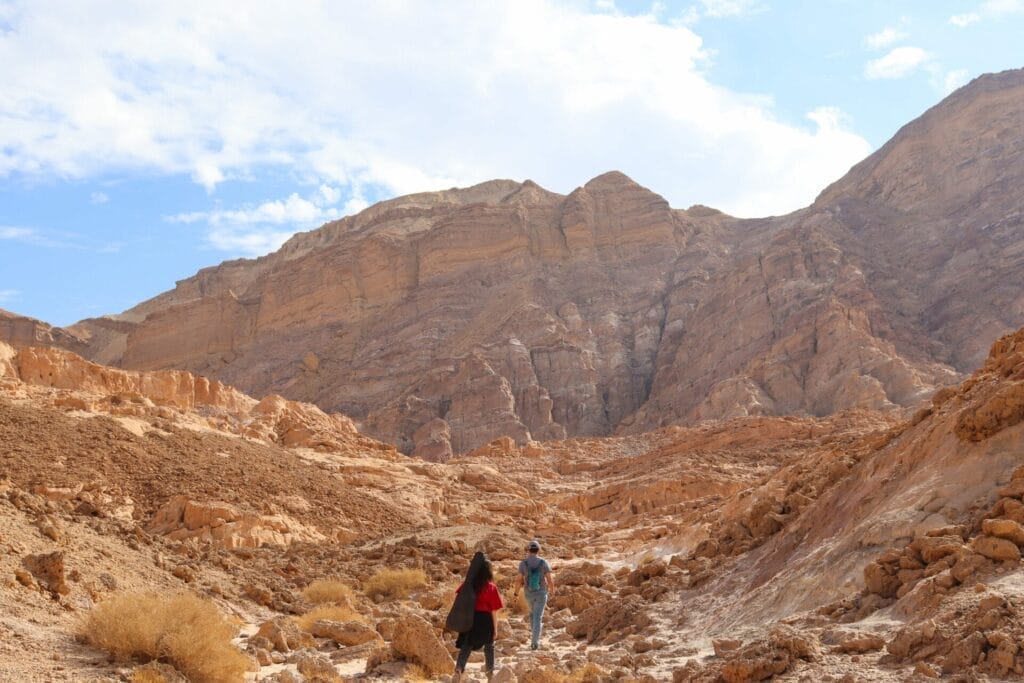
Luckily, my soldier son was with us, and the other kids followed along as he led the charge up each hill. We distracted my youngest son by pointing out green copper rocks to collect along the trail (useful for lighting with a match and making sparks at night). And we stopped for many breaks, huddling under rock ledges away from the wind while the big kids played guitar.
After our last charge up a hill, we reached an absolutely spectacular view out to the surrounding area. The sky was wide open before us, streaked with white clouds. The valley sat gaping and white in the depths at our feet. Jagged mountains completed the picture.
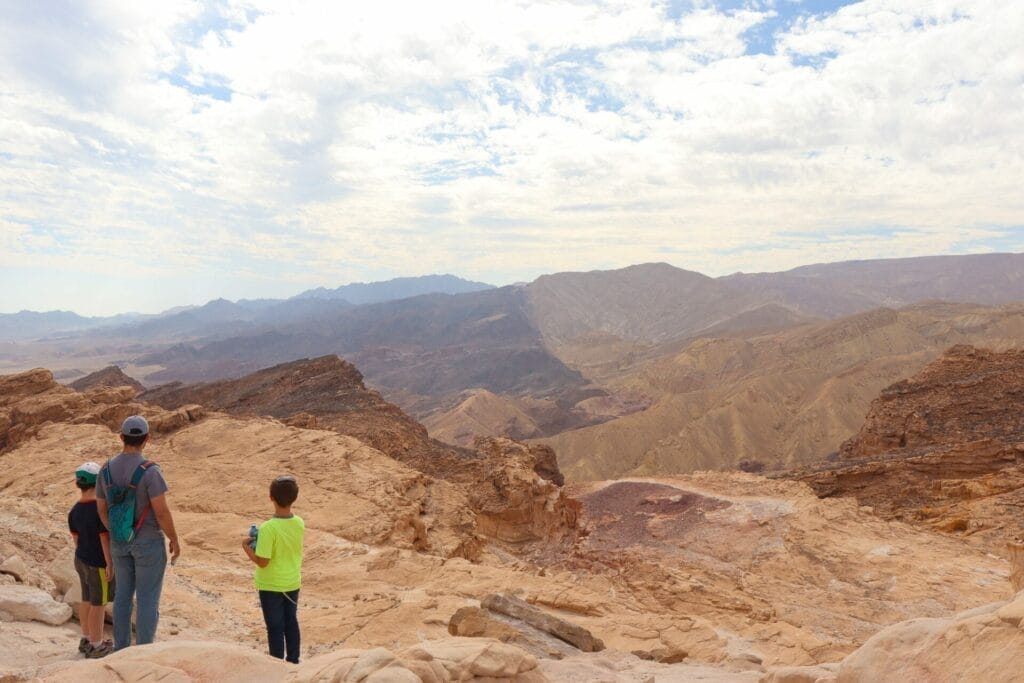
And that’s when I realized that I had left my phone all the way down the hill. So we picked the fastest member of our family (my oldest son, of course!), and sent him back to retrieve it. Whoops!

Ice Cream Sundaes
When my son rejoined our crew, we continued our journey. From this (literal) high point of the hike, we headed around the bend and then back downwards. We passed by piles of red rocks, carved into smooth shapes by rainwater. To me, they looked like ice cream sundaes dripping with caramel sauce.
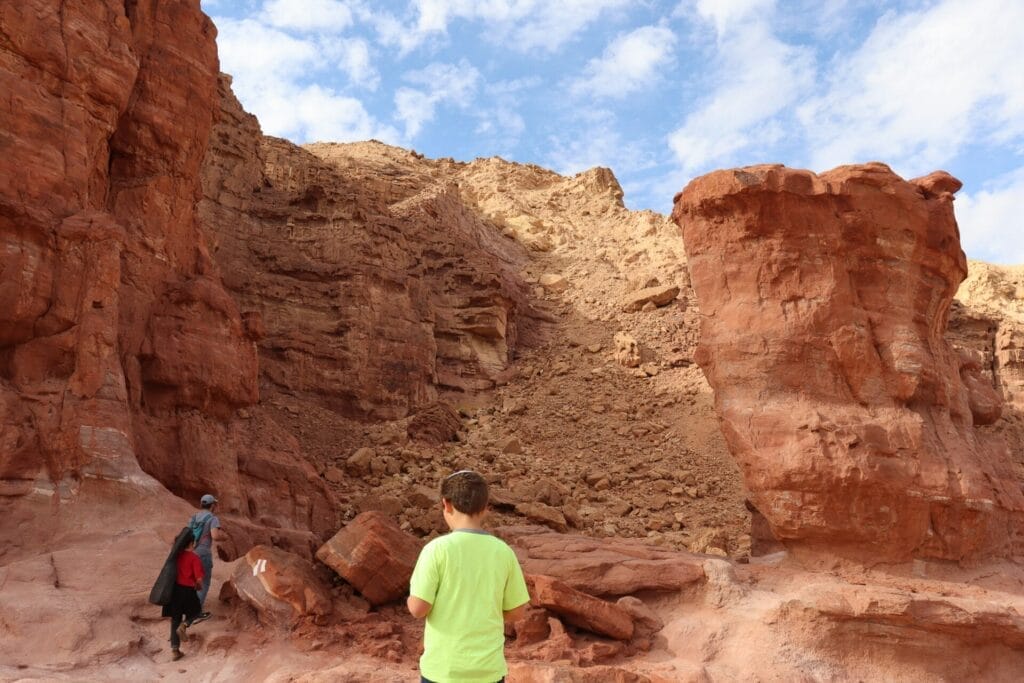
There were also some random rock pillars just hanging out on their own in the middle of the canyon. And we began to get a sense of the massive rock formations we would soon see at Amram’s Pillars.
We continued slow and steady through the mountainous terrain. Now that we were finished with all major ascents and descents, the trail was a little bit easier. We were able to stick together as a group as the kids lost themselves in silly sibling conversation.
Pink Elephant Pillars
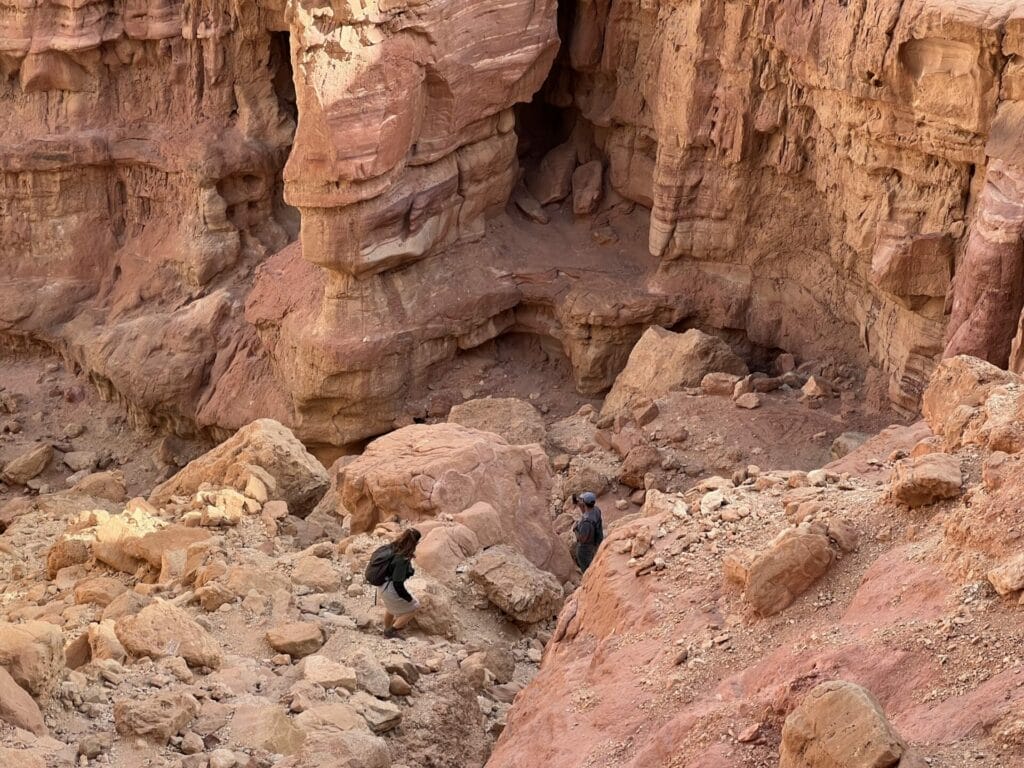
Soon, we reached the crossroads, where we would break away on to a short trail to reach Amram’s Pillars. We picked up speed as we followed the trail into a tucked away canyon. As we climbed up and down over rocks, the kids began to wonder if these famous pillars really existed.
But soon – there they were! Just around the bend, tucked away. We could see the edge of the tall pillars, like giant pink elephant legs. As we approached, we saw them crowded together in the canyon, towering up into the sky.
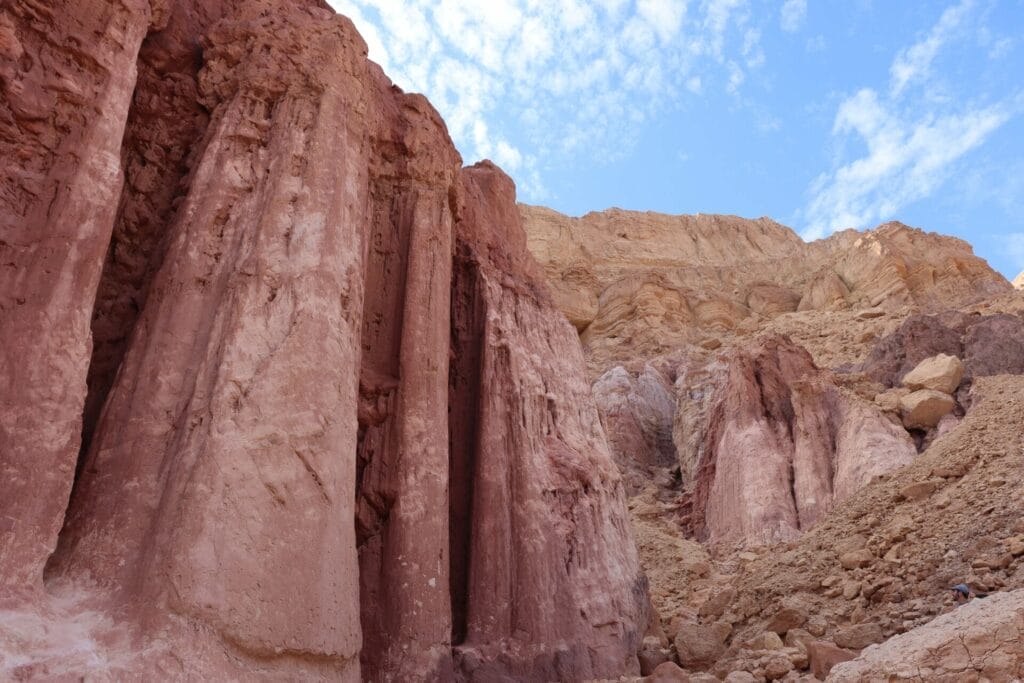
Just for kicks, we decided to go inside the pillars, where we glanced up at the blue and cloud filled sky from between the gaps in the red rock. And after taking it all in, we returned to the crossroads and headed back onto the red trail for the last stretch of the loop.
Ease + Adventure = Fun Family Trail
A short while later, our car came into sight. Our hike that day had been absolutely magnificent, the most beautiful of the whole trip. The desert mountain scenery, while always spectacular, had been particularly varied and exciting on this trail.
This loop trail to Amram’s pillars was just the right mix of beauty, adventure, and ease for our family. Next time, we’ll hike it after a night spent sleeping in a tent!

Hikers’ Notes:
Here’s what you need to know to hike this loop trail at Amram’s Pillars:
- This trail is best suited to cooler days in fall, winter, and spring (especially winter).
- This is a loop trail.
- As with all desert trails, check for flash flood warnings before you hit the trail.
- There is a campsite near the beginning of this trail.
- Wear good hiking shoes, a hat, sun protection, and bring plenty of water to hike this trail.
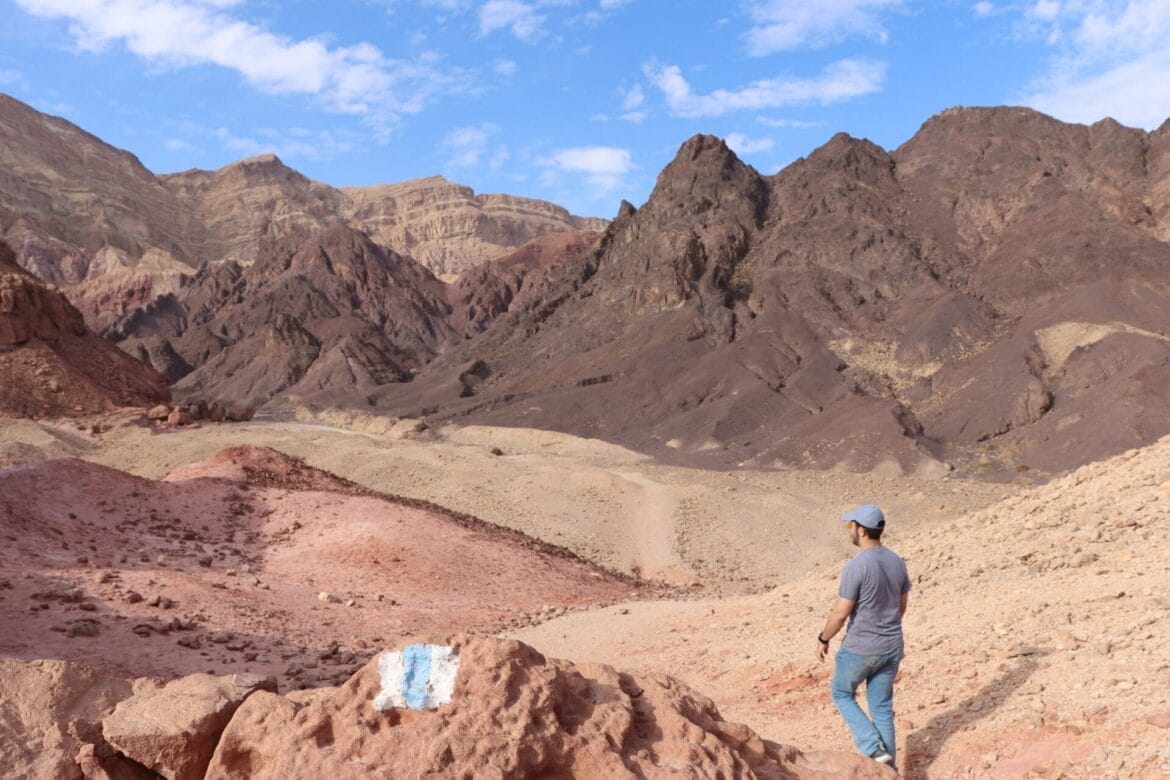
- Use the trail marker gallery and trail map in the table at the top of the page to find your way.
- To follow the trail as we hiked it: Take the green trail until you reach the red trail. Make a right on the red trail. When you reach the blue trail cross roads, take the blue trail to the black trail. Follow the black trail out to Amram's pillars and then return to the blue trail/red trail crossroads. Follow the red trail back to your car.
- See the trail map for an alternate route to make this hike a bit longer and harder.
Don’t forget to read my guide to the navigational features in this post before you hit the trail!
Trail map from Amud Anan.
Questions? Have you hiked this loop trail to Amram’s Pillars? Let’s hear about it in the comments!


